Geocoding Addresses
|
· Create a folder called Geocoding somewhere under your personal directory (e.g. C:\Users\jdoe\Documents\Tutorials\Geocoding\). · Download the CSV data file for this exercise and save it in the Geocoding directory. |
There are several ways to geocode address tables with ArcGIS, one of which makes use of address locator files (files ending with *.loc). However these files must be created from scratch unless available to you via your organization. ArcGIS also provides a geocoding service through its portal but this consumes credits. A free alternative is to make use of the Census Bureau’s free geocoding service. It limits the address records to 10,000 but you can split your data into several separate files need be. The geocoding is done outside of ArcMap and requires post-processing in a spreadsheet environment before importing the locations into a map session.
Step 2: Geocoding the addresses
Step 3: Post-processing the data
Step 4: Importing geocoded table into ArcMap
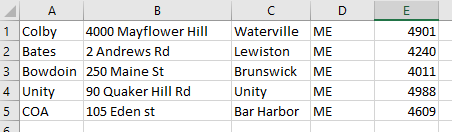
The first step is to create an address data table saved in a CSV (comma separated value) file. The data table should not have a header row and must consist of the following columns (in the listed order):
· Address ID (this can be numeric or text);
· Street address;
· Town/municipality;
· State (two letter abbreviation);
· Zip code.
This tutorial’s sample Addresses.csv file lists five college addresses.
Next, open a browser and navigate to https://geocoding.geo.census.gov/geocoder/locations/addressbatch?form.
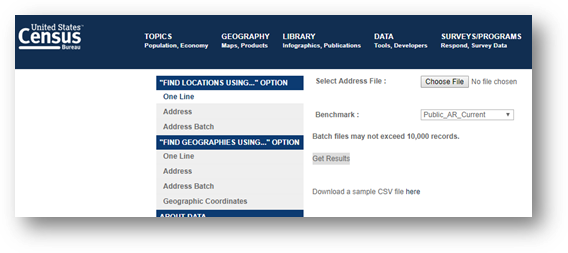
Click on the Choose File link and select the Addresses.csv file.
Click on Get Results.
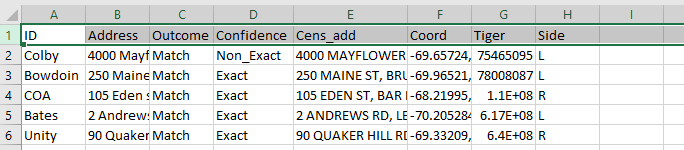
The server will return a file called GeocodeResults.csv. Depending on the web browser used, you may be prompted to download the file or it may be automatically downloaded for you (you might need to check you Downloads folder).
Copy or move the GeocodeResults.csv file to the Geocoding tutorial folder.
Before loading the data file into ArcMap, you will need to perform some data manipulation on the GeocodResults.csv data file. The address coordinate pairs are stored in a single column and need to be split into two separate columns.

This can be done in a spreadsheet environment such as Excel or LibreOffice/Calc, or in a data analysis environment like R. In this tutorial, Excel will be used.
Open the GeocodeResults.csv file in Excel.
Insert a header row above the top most record. You are free to name the columns as you see fit. In this example, the following column names are used.
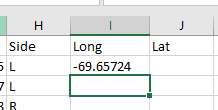
Create two new columns that you will name Long and Lat.

Next, you will take advantage of Excel’s built-in functions to extract the coordinate values from the Coord column.
Select the first cell under Long and type the following formula in the formula bar: = left( F2 , find( "," , F2)-1 )
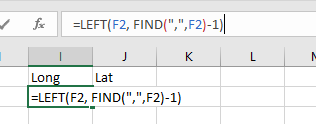
Press the Enter key to accept the formula.
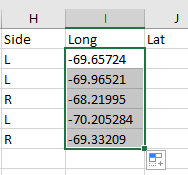
Copy the formula to the remaining cells in the Long column.
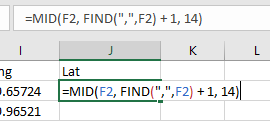
Next, select the first cell under the Lat column and type the following formula in the formula bar: = MID(F2, FIND( "," , F2) + 1, 14)
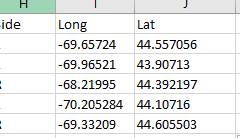
Press the Enter key to accept the formula then copy the formula to the remaining cells in the Lat column.
You now have separate lat/long attributes ready to be imported into ArcMap.
Save the file (keep it in its native CSV file).
Open a new instance of ArcMap.
Add a base map (or any other layer that covers the state of Maine) via File >> Add Data >> Add Basemap. In this example, the Streets base map is loaded.
Note that the base map is loaded as a projected coordinate system (Web Mercator). This will be important to note when loading the geocoded data table.
Open File >> Add Data >> Add XY Data.
Load the CSV file and make sure that the X and Y fields are properly matched to the Long and Lat columns respectively.
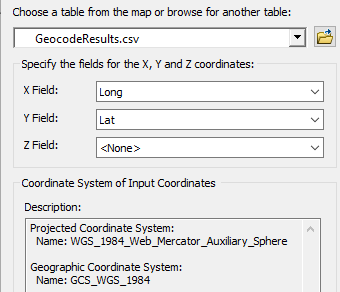
Note that the tool is assuming that the coordinates being imported are in the Web Mercator projection defined in the data frame. This is not the case. The data are in a geographic coordinate system (we’ll assume in a WGS 1984 datum).
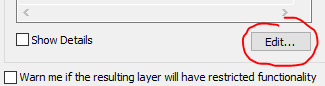
Click on the Edit button.
From the coordinate system list select Geographic Coordinate Systems >> World >> WGS 1984.
Click OK.
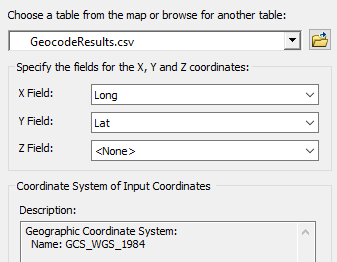
Click OK again to import the data.
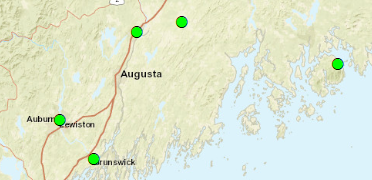
Note that the imported points are loaded as an event theme which will only persist in the current ArcMap session and may not be accessible by some geoprocessing tools. To make it permanent, right-click on the layer and select Data >> Export Data then specify the output file type and location.
© Manny Gimond, 6/11/2018